Step 1: Mark up the wall where things should line up and sit, where the studs are to drill into, etc.
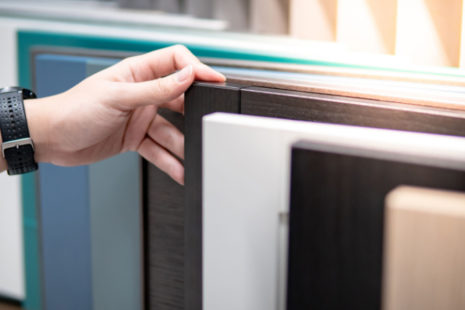
Step 2: Remove your cabinet doors and mark which goes where to allow for clean, easy installation.
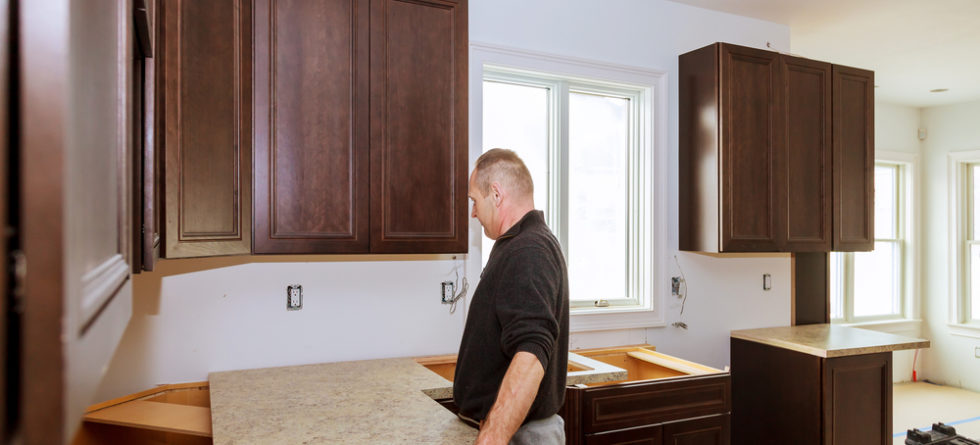
Step 3: Begin by hanging the upper cabinets so you can install them quickly before the bottom ones get in the way. Installing a ledger board on the wall is the easiest way. This allows the cabinet backs to sit where they will eventually hang, nice and level. It also helps hold some weight while you install the screws into the back of the cabinet in line with the studs.
Step 4: Keep installing the cabinets down the run. While initially drilling through the backs into the studs, you may need to leave them a little loose to get the cabinet fronts to line up. An easy way to accomplish a perfectly symmetrical installation is to clamp the acts of the two cabinets together and then drill a 1/8th inch pilot hole before attaching the two frames with some ½ inch screws.
Step 5: Position the first base cabinet a ¼ inch below where it should sit on the wall height, then shim it up to the proper size, ensuring the top is level. Then drive 2 ½ inch screws through the back into your studs.
Step 6: continue installing the rest of the cabinets along the bottom, ensuring you shim any bows in the wall over about 3/8ths of an inch (use a level to discover where the wall may be bowing).
Step 7: When you get to the end, you’ll have to measure the gap between the wall and the cabinet and cut a filler strip for that gap. Cut it at a slight angle on the back to allow for a close fit, and sand or plane down to a perfect fit.